 Finished and decorated dining room cabinet. Photo by Diane M. Lilly, 2021. Overview: Back in mid-Summer I found myself itching to do another DIY project. I had just finished a few other projects and my dining room was beautifully styled—except for this one miserable looking smaller cabinet. This sad looking piece of furniture had been sitting in my dining room for a few years waiting for me to find the time to give it a face lift and some style. We bought it several years ago from someone who must’ve been using it in their garage. It had no feet, no base, and the body was made of plywood with a pine wood top. Despite the haphazard materials, the piece was well constructed with classy looking door pulls and hinges. I knew I could make this cabinet look beautiful for my dining room. Besides, it was only $40 and I desperately needed storage! Fast-forward to this past summer, and I finally got around to giving this cabinet some much needed attention.  Rustic wooden cabinet before refurbishment. Photo by Diane M. Lilly, 2021. For those of you who are curious how I did it, I’m going to walk you through my DIY process, step by step, below… Step 1: Deciding on a finished look So the first thing I did was have a think about paint colors and style. The finished piece needed to blend in with the rest of my dining room, which I recently redesigned in a traditional style with cherry wood finishes and cream accent colors. I spent a considerable amount of time searching Pinterest and pondering how to make this cabinet look like a traditional piece of dining room furniture. My final inspiration came from a combination of the hardware on the cabinet doors and images of French Country furniture from online. 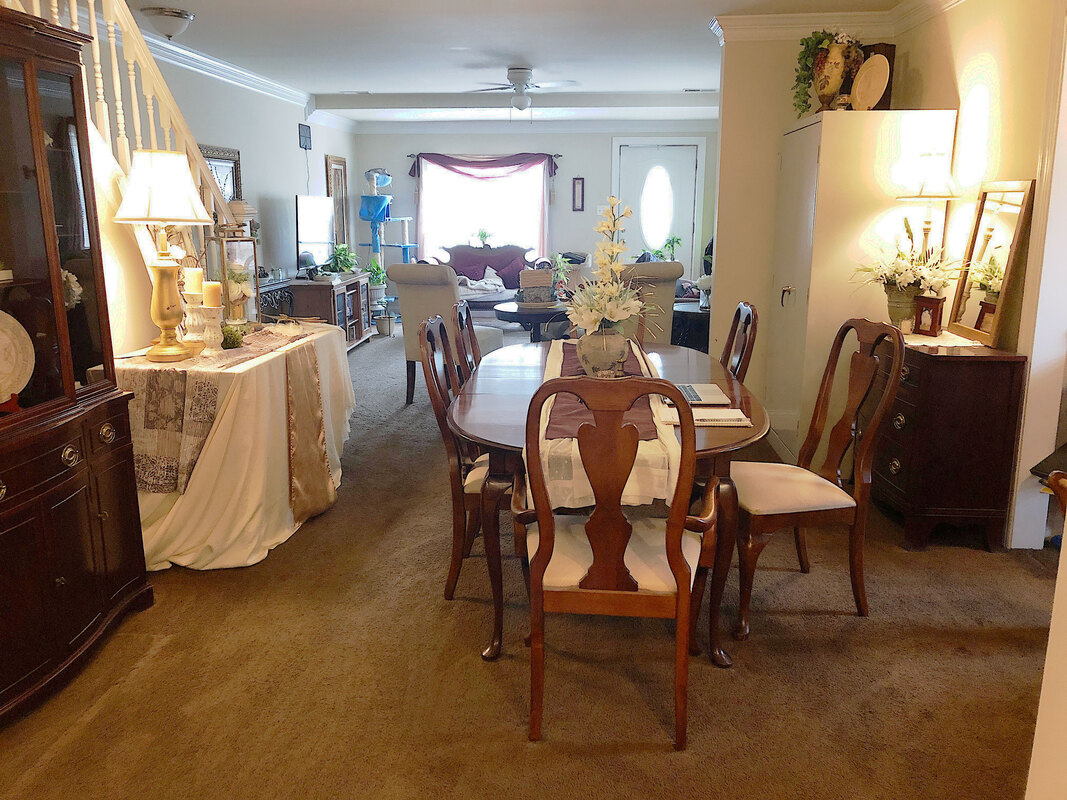 My redesigned dining room. Photo by Diane M. Lilly, 2021. 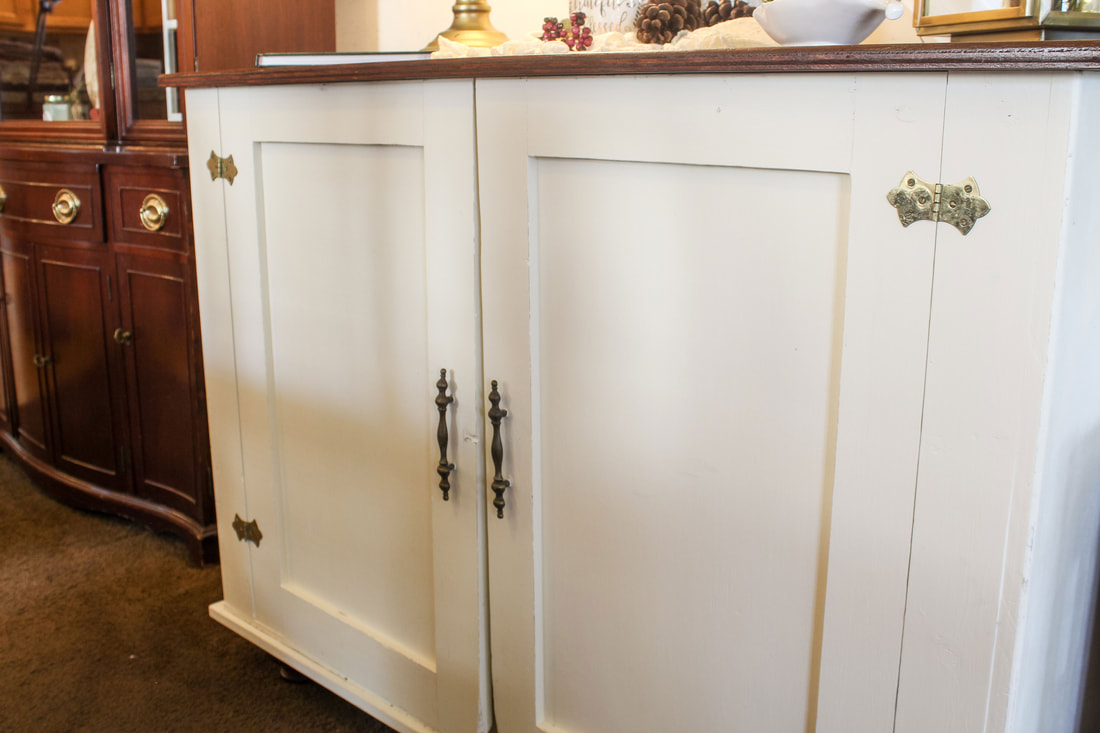 Traditional style hinges and door pulls on cabinet. Photo by Diane M. Lilly, 2021. Step 2: Color choices and purchasing the paint, stain, and finishes As I mentioned before, my new dining room colors contain dark red wood with cream color accents, so this smaller cabinet needs to echo that color scheme so that it looks like it is part of the overall set of furniture. My local Home Depot has a nice selection of Varathane furniture stains, and it was so hard to choose just the right shade! I finally settled on the Cognac stain for the cabinet top and legs. It is a nice dark cherry-toned stain that closely matches that of the rest of the furniture. The final protective coat is a Varathane Polyurethane in a satin finish, purchased on Amazon. The reason it’s a polyurethane has to do with the fact that the Cognac stain—being a dark red color—is an oil-based stain, meaning it needs an oil-based polyurethane finish, rather than a polycrylic (water-based) finish that will cause the color to dull or turn brown. The choice for the satin sheen was just a personal choice—I wanted to keep the entire furniture piece more of a matte finish with a slightly rustic feel. 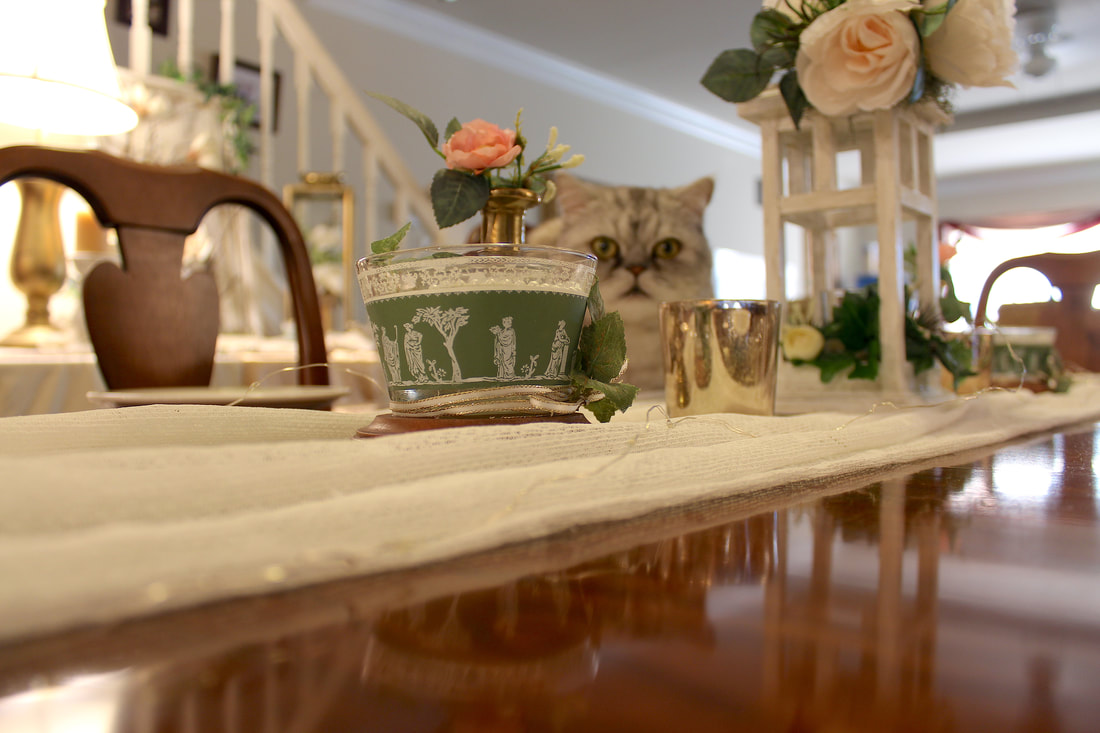 Dark red wood dining room table with cream decorative accents. Photo by Diane M. Lilly, 2021. Step 3: Attaching the wood base We also bought an extra 24 x 48 x 1 inch particle board to attach to the cabinet bottom to give it a more finished look and to provide something into which to screw the furniture feet. Ultimately, I wanted to keep the look simple, matching the existing style of the cabinet. Any base that was too “stylized” would look out of place on this piece of DIY furniture. So the choice was made to keep it simple, understated, and rustic. 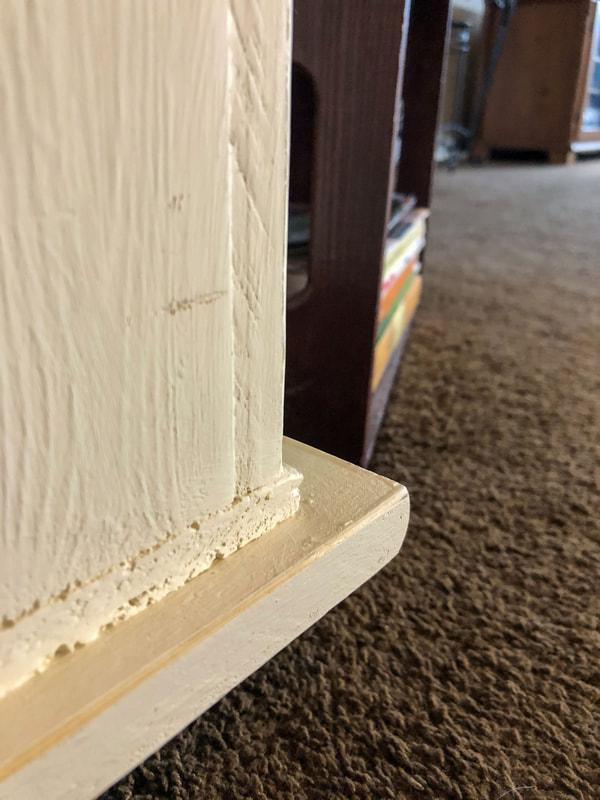 Bottom corner of rustic cabinet. Photo by Diane M. Lilly, 2021. Step 4: Painting and attaching the feet The choice for the feet was fairly easy. I already had a vision of what I wanted in my head based on some of the research I had been doing on furniture feet and French Country interior style. I wanted turned feet, low to the ground with a squat sturdy appearance, a bun foot design. Home Depot had these perfect and inexpensive basswood turned bun feet to give this cabinet the lift it needed to get it off the ground and add support. All four feet were treated with the same Varathane Cognac furniture stain and polyurethane as the cabinet top. Each one was then screwed into the bottom base a few inches from each corner. 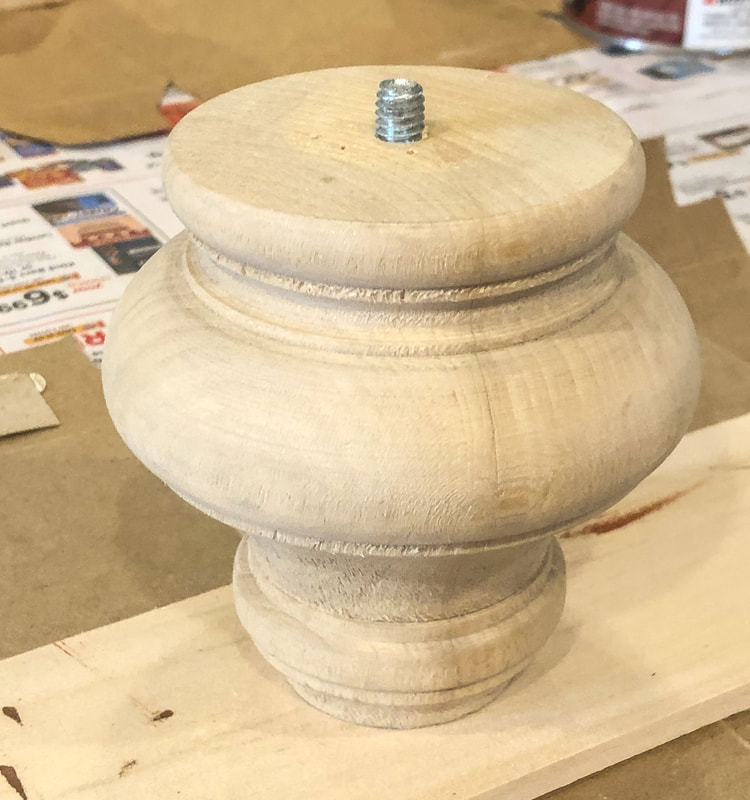 Unfinished turned bun foot. Photo by Diane M. Lilly, 2021. 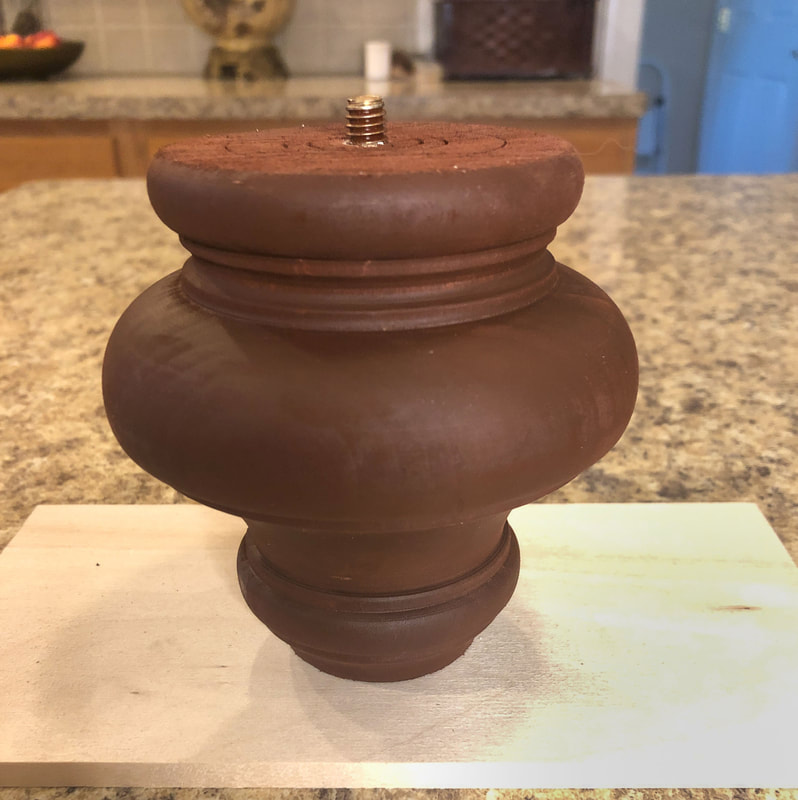 Newly stained turned bun foot. Photo By Diane M. Lilly, 2021. Step 5: Painting the cabinet body and doors I prepped the surface of the cabinet by giving it a once over with 100 grit sandpaper to remove any dirt and rough surfaces. The doors were taken off and painted first, with three coats of Rust-oleum Chiffon Cream chalk paint on each side, then the rest of the cabinet body was painted. It took three coats of paint to get the coverage I liked. (No matter what people online say, in my experience it always takes at least three coats of chalk paint to properly cover a surface, unless you prime it first.) The plan was to apply a clear wax finish to the chalk paint once it dried, but I tried it and hated it! For some reason, it seemed to leave weird colorations in some areas, so I stopped after only doing one of the (not as noticeable) sides. In the end, the part I actually treated with wax dried clear, but I didn’t want to take the chance of spending a lot of time and effort to ultimately destroy all my hard work painting! (It has to be said, though, I could’ve just painted over it to fix it.) My thinking is that nothing wet touches this piece, and I can always touch it up or repaint it if it gets too scratched, but right now I don’t mind the “worn” look. I even distressed some of the edges, just a little, for a subtle aged look. 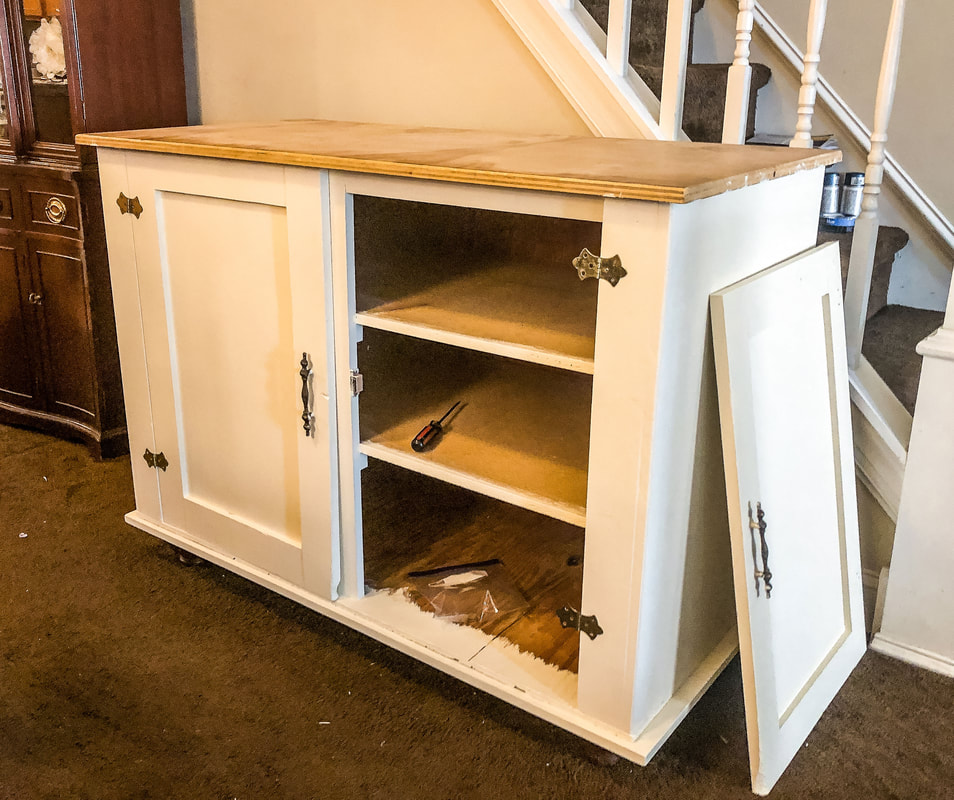 Chalk painted cabinet body. Photo by Diane M. Lilly, 2021. 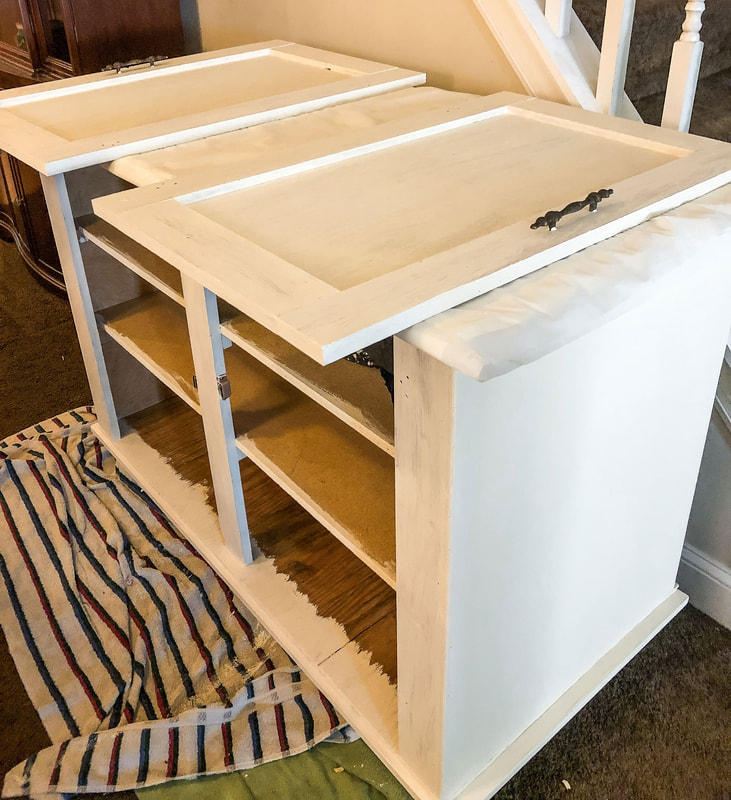 Cabinet doors drying after chalk paint. Photo by Diane M. Lilly, 2021. 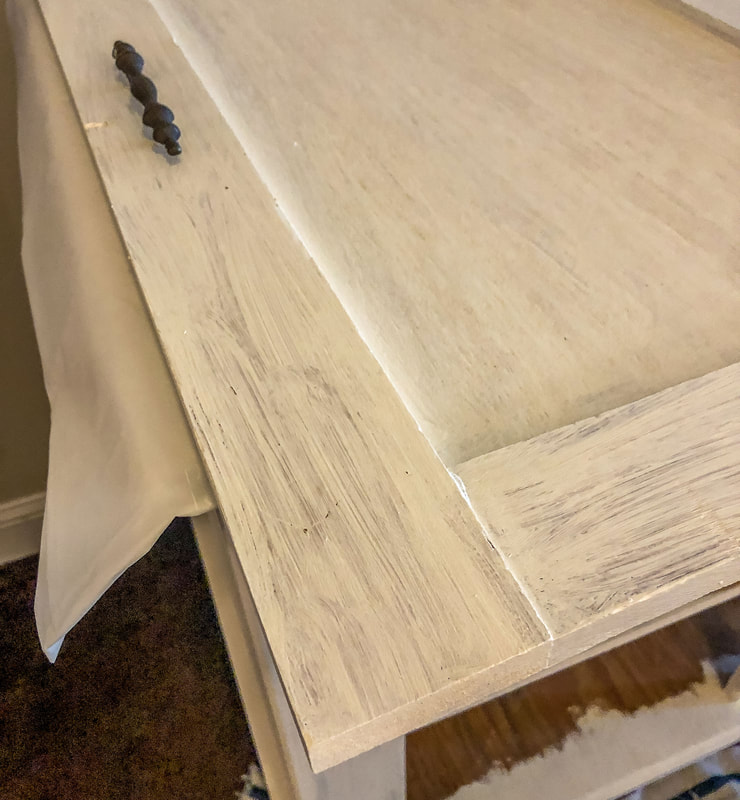 First coat of paint on cabinet doors. Photo by Diane M. Lilly, 2021. 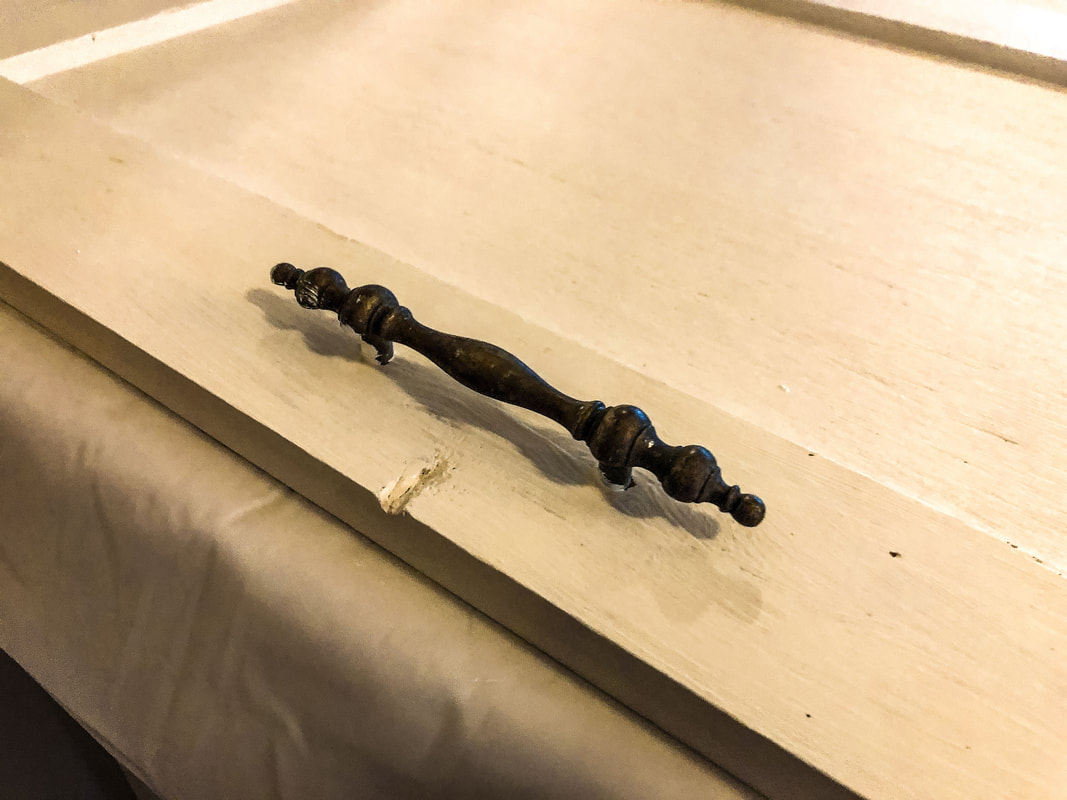 Cabinet door after three coats of paint. Photo by Diane M. Lilly, 2021. 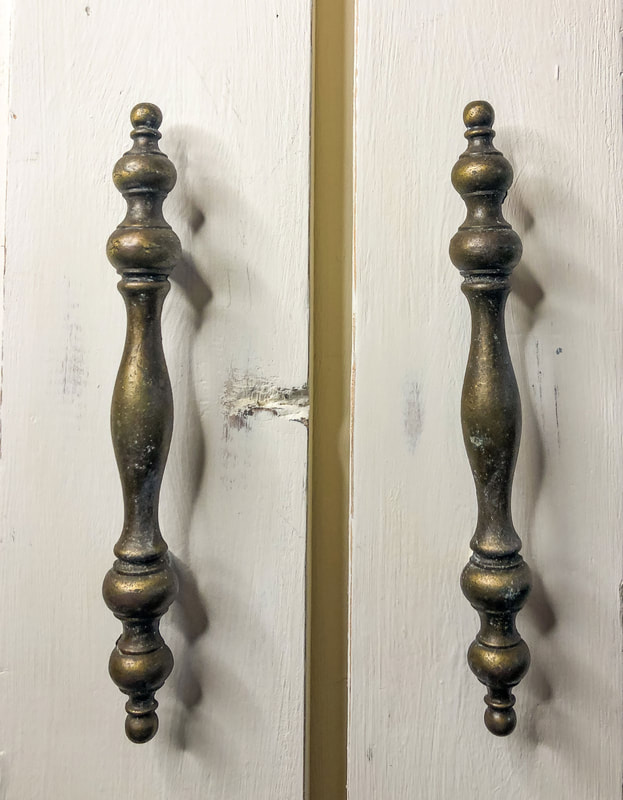 Cabinet door pulls and slight distressing of wood paint. Photo by Diane M. Lilly, 2021. Step 6: Lining the shelves with floral paper The inside of this cabinet need some love as well. I had this beautiful floral liner paper that I had been given and had no idea what to do with it. Then a light bulb went off—I could line the shelves of this cabinet with this beautiful paper, enhancing the quaint traditional style I was looking for in the finished piece. Each shelf was lined with this floral paper, which was attached with glue. When all of the detail work was done, the doors were reattached and the cabinet base was prepped for the next step—staining the top. 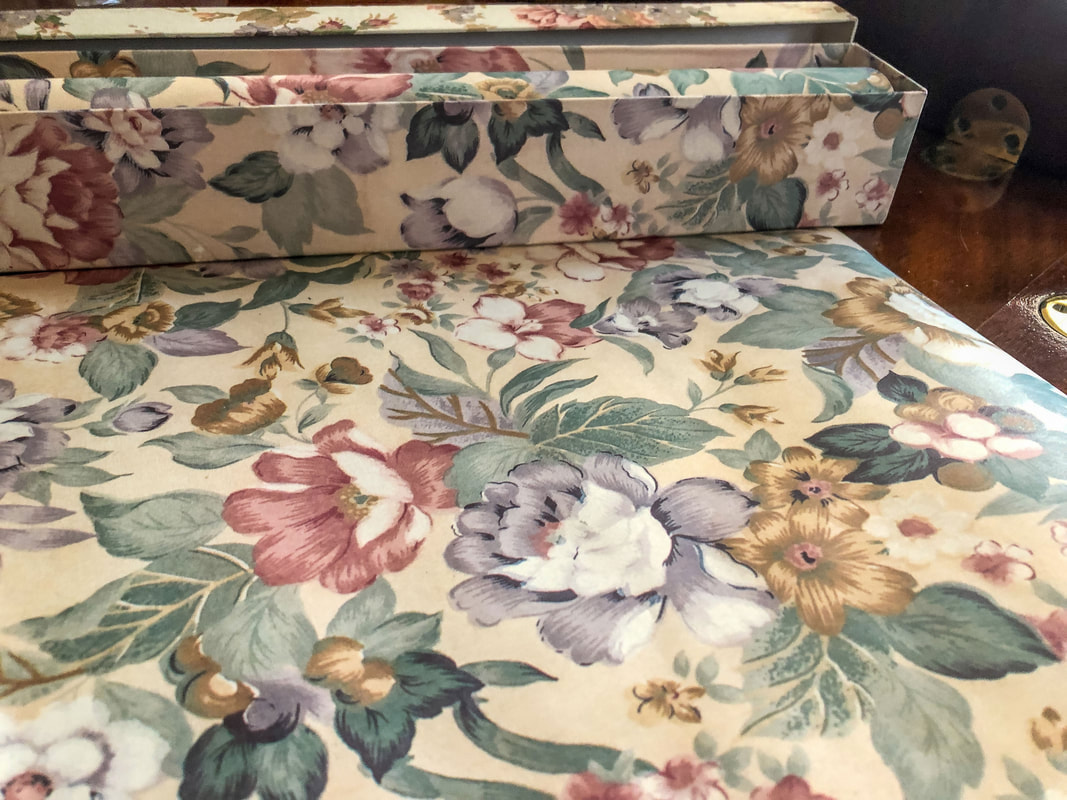 Floral paper for shelves. Photo by Diane M. Lilly, 2021. 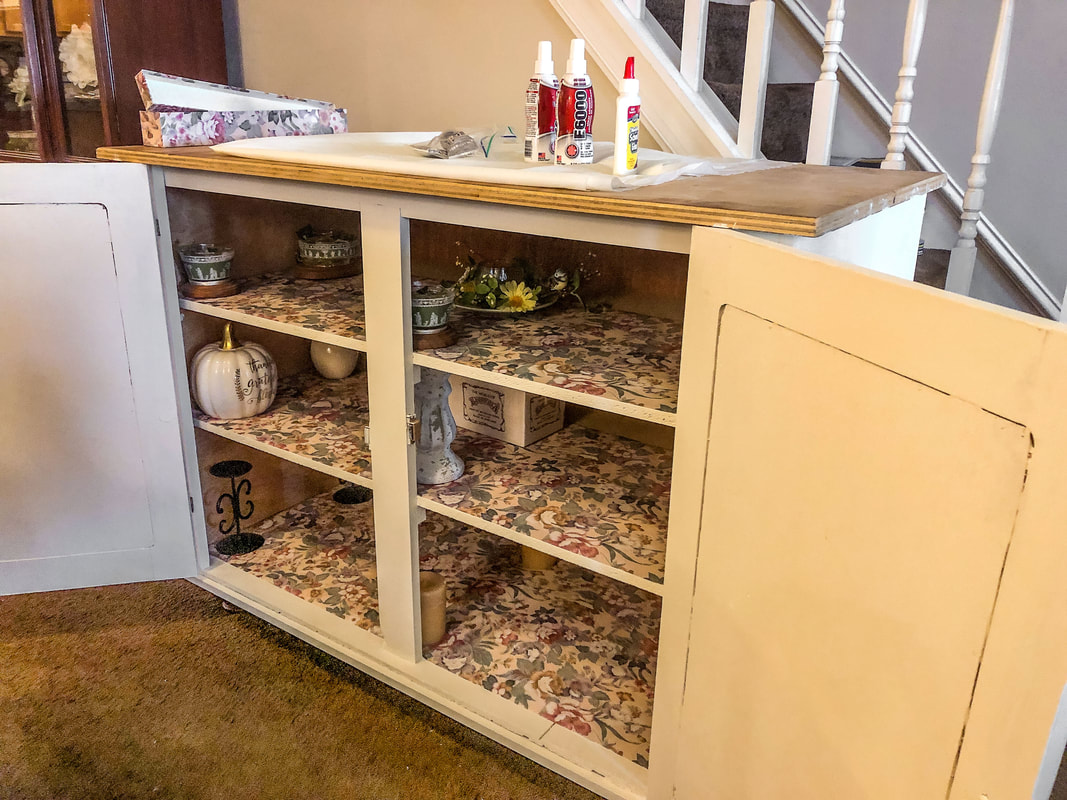 Cabinet shelves lined with floral paper. Photo by Diane M. Lilly, 2021. 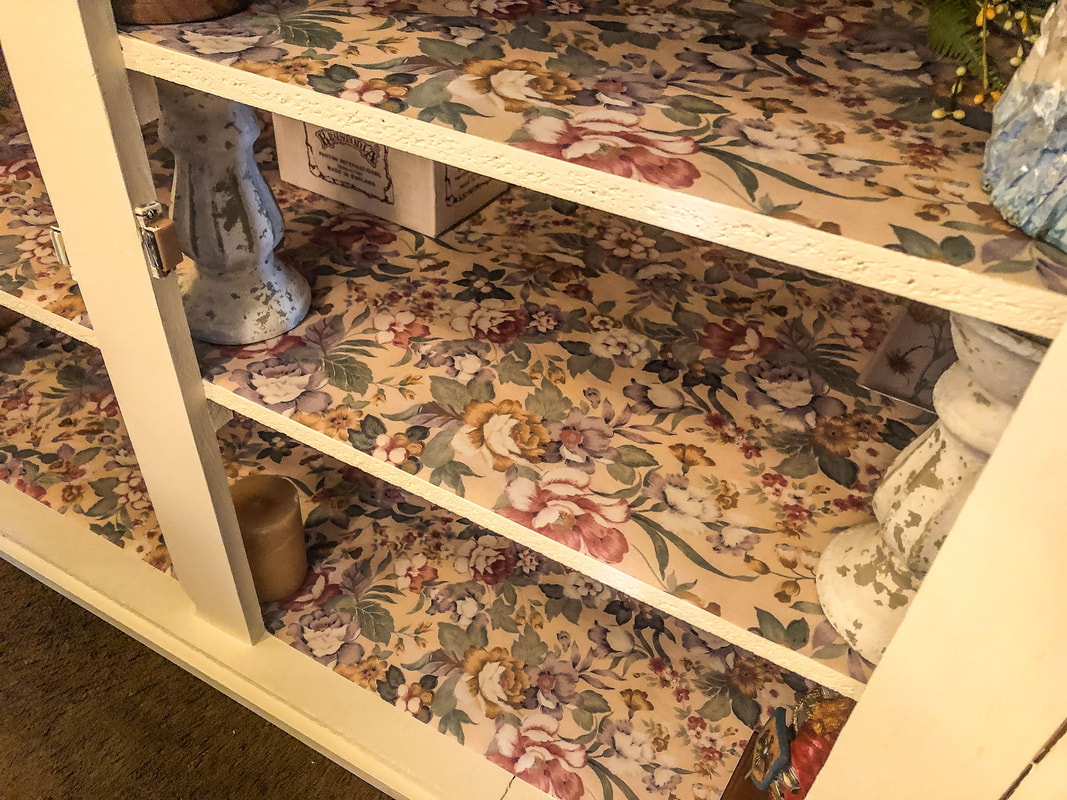 Closeup of cabinet shelves lined with floral paper. Photo by Diane M. Lilly, 2021. Step 7: Painting and finishing the cabinet top The cabinet bottom was wrapped in trash bags and secured with painters tape because I really did not want to get a red stain on my freshly painted white surface! After lightly sanding the top to clean off any dirt and grime, I applied two coats of stain. Boy does this stain dry fast! I was able to apply a second coat in less than an hour! I waited until the next day to apply the final satin finish (Varathane Polyurethane), and half a day later I unveiled my latest furniture piece for my dining room! 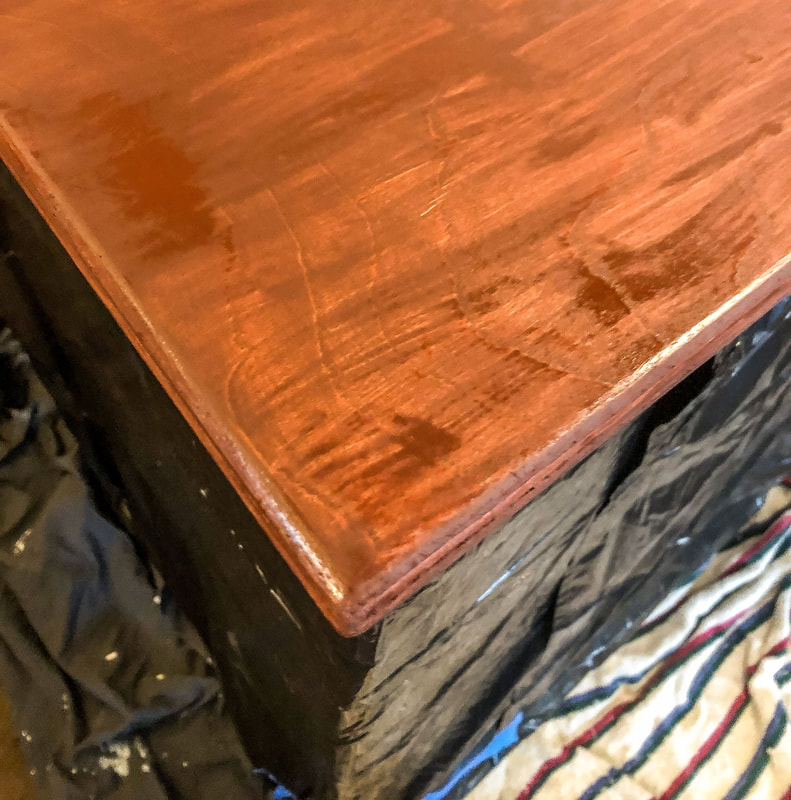 First coat of Cognac stain on cabinet top. Photo by Diane M. Lilly, 2021. 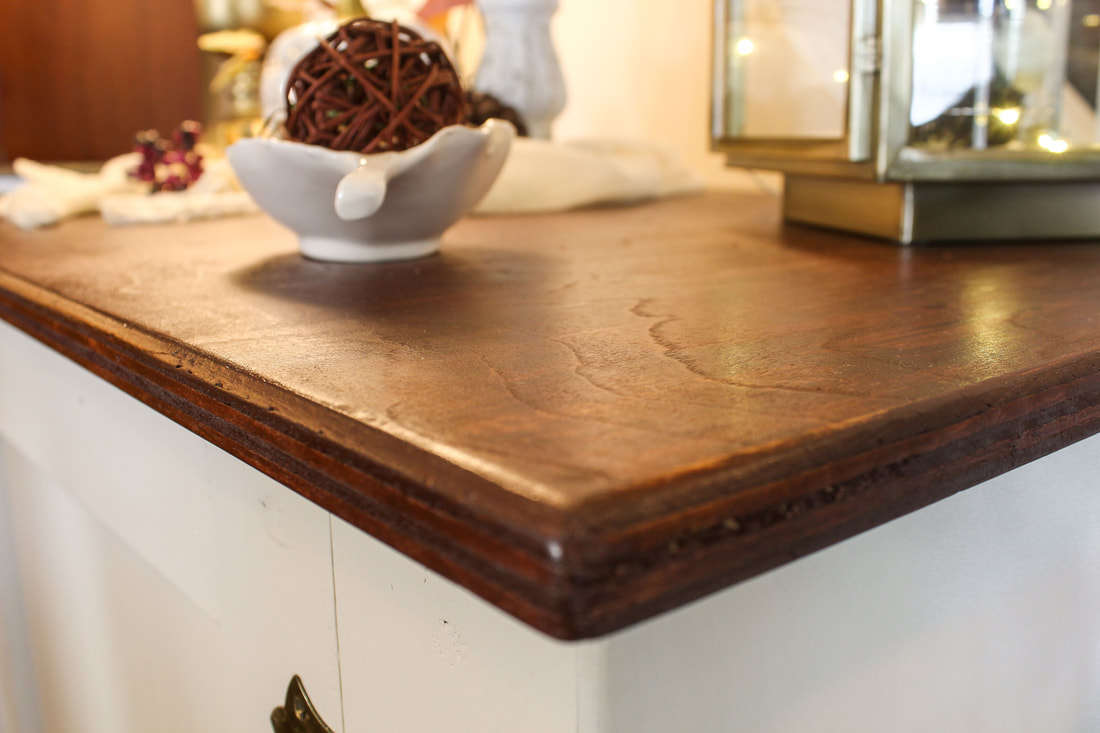 Cabinet top after fully stained and finished. Photo by Diane M. Lilly, 2021. 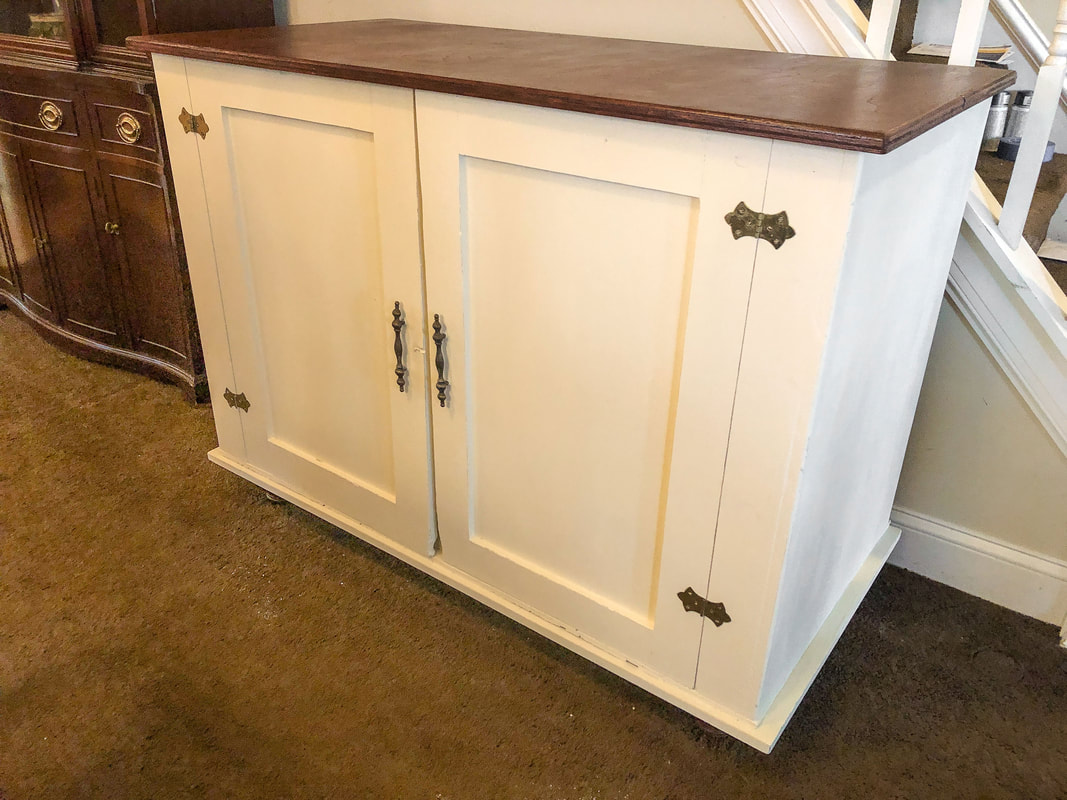 Cabinet refurbishment when done. Photo by Diane M. Lilly, 2021. Step 8: Dress it up! The big unveiling took my breath away! The finished piece looks amazing in my dining room and fits right in! My dining room has become a very nice space to work in, especially once I pulled out the decor and gave the space some much needed interior styling detail. I’ve created a space I love in the style that suits my tastes and inspires me to want to sit down and work in the morning…And that is priceless! 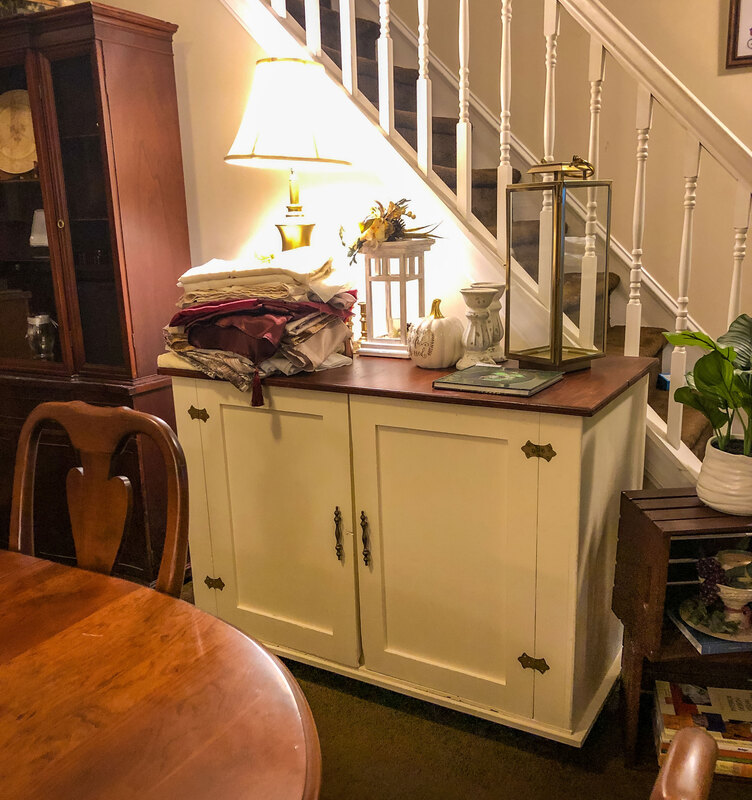 Getting ready to decorate the cabinet top. Photo by Diane M. Lilly, 2021. 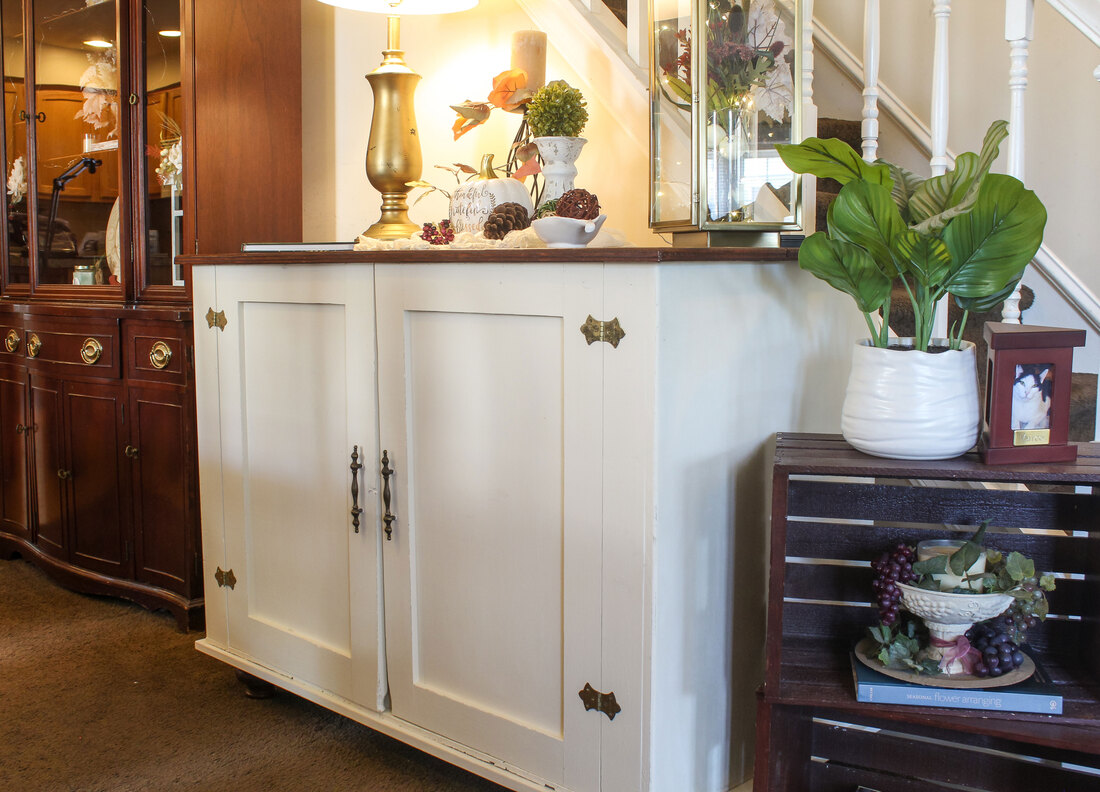 The fully finished cabinet, refurbished and decorated. Photo by Diane M. Lilly, 2021. Let me know what you think of my little project in the comments below! If you’d like to be notified of new blog posts or merchandise sales you can sign up for my monthly newsletter (coming soon) on my contact page. And if you’d like to see what I’m up to on social media, click on the links below! Related blogs you may want to read: How to replace a clock mechanism How to rewire thrift buy lamps Creating a kitchen coffee bar Comparing DIY upholstery cleaning methods My dining room redesigned as a multi-functional space A fun DIY project with paint and a thrifted mirror, part 1 A fun DIY project with paint and a thrifted mirror, part 2 I am an Amazon affiliate so some of the posts in this article may contain affiliate links. If you click on the link and purchase the item, I will receive an affiliate commission at no extra cost to you. I will only recommend products or services I use personally and/or believe will add value to my readers, so there is no conflict of interest.
0 Comments
Leave a Reply. |

Author
Some of the posts on this site contain affiliate links. This means if you click on the link and purchase the item, I will receive an affiliate commission. 
Categories
All
Archives
October 2025
|
 RSS Feed
|
|
Major credit cards accepted through Square. Apple Pay option available. This site also accepts PayPal payments for better online security, and it's free to sign up! Gift cards are now available for purchase!
Copyright 2025 |