 A few of my "found" decor pieces...Photos by Diane M. Lilly, 2021. I love shopping at thrift and consignment stores. I always find such interesting pieces with which to decorate. Using pre-owned pieces brings an element of surprise and interest to a space. A space filled with all brand new stuff lacks a sense of character, of past stories waiting to be told. And buying pre-owned, antique, or vintage pieces saves a whole lot of money! Sometimes it takes a bit of elbow grease to bring things back to life (as I found out with my thrift store lamps), but when you resurrect an old piece you give it a new lease on life and a chance to tell a new story. And did I mention it saves money?! So far this year I have collected soooo many decor items from my local consignment and thrift shops, and I am just dying to share them with you! I’ll break them down by room, to make it easier for me to keep them straight… Repurposed/upcycled items in my dining room First of all, shout out to Consign & Design in Broomall! My lovely dining room set—a two leaf table with six chairs, a small chest of drawers, and a china cabinet—came from there. The whole set cost be around $700! You can’t beat that! Last year I bought a small side table and two side chairs from there, and I love them! 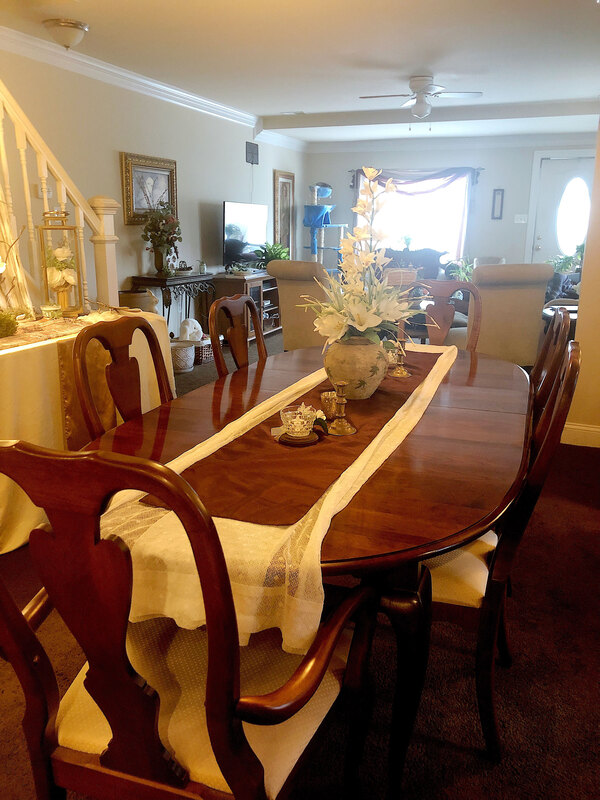 My dining room table with 2 leaves and six chairs. Photo by Diane M. Lilly, 2021. 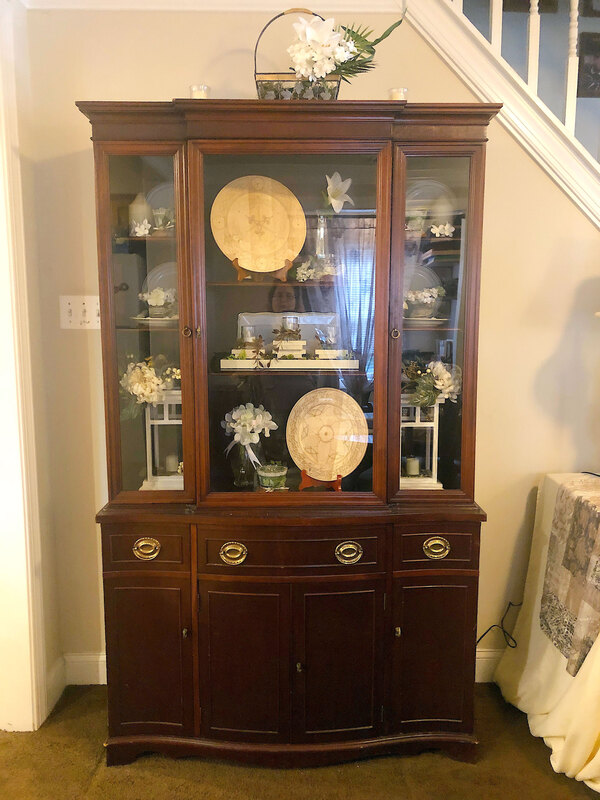 My new china cabinet, with Di's Studio Designs merchandise displayed. Photo by Diane M. Lilly, 2021. 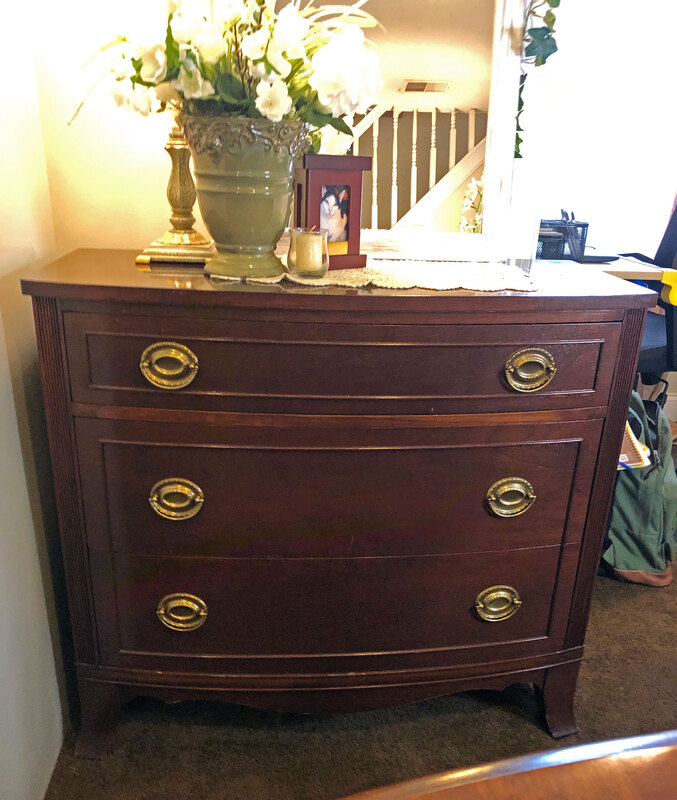 Chest of drawers sourced from a consignment shop. Photo by Diane M. Lilly, 2021. And while we’re in the dining room, I have to share these two lamps I bought from a Goodwill. They needed to be rewired (check out that how-to blog here) but now they look beautiful in my space. I think I paid $7 a piece for them, plus $17 each for lamp kits to rewire them. And one lamp needed a lamp shade, which cost me $60 (Sheesh! Lamp shades are not cheap!), but I still made out well in terms of overall cost. 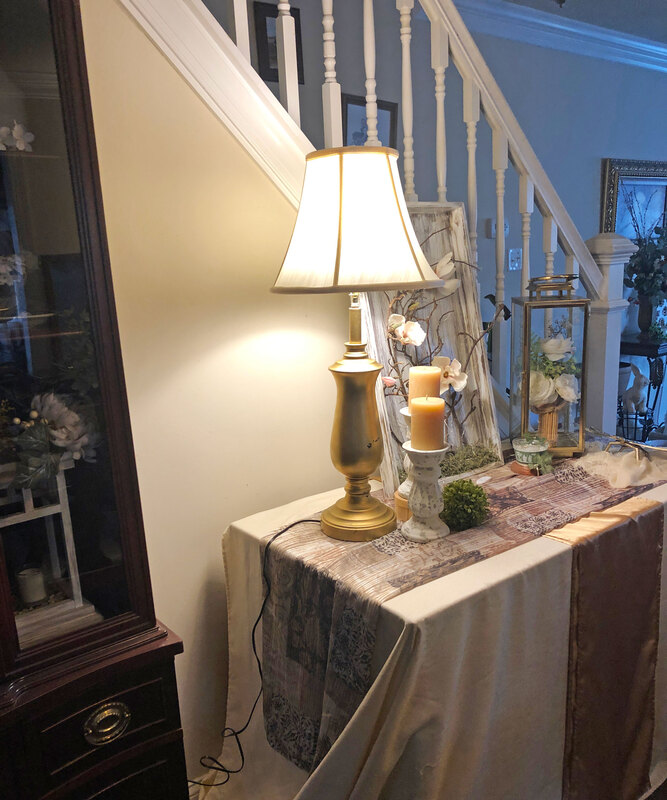 Thrifted lamp, rewired and used in my dining room. Photo by Diane M. Lilly, 2021. 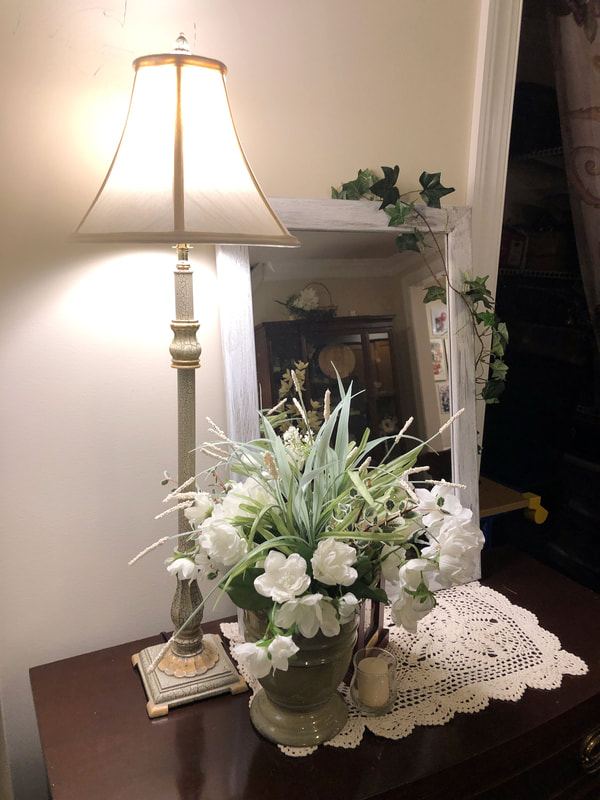 A second thrifted lamp used in my dining room. Photo by Diane M. Lilly, 2021. A couple other pieces are a mirror (the frame will be painted to match the room in a future DIY project), a pair of brass candle sticks (that look lovely on my dining room table), and this intriguing goblet from Germany that someone used as a candleholder and now the bottom is cracked. It doesn’t bother me because it tells a story. At least I like it! All together I think these pieces cost me maybe $20.  Mirror I found at a local thrift shop. Photo by Diane M. Lilly, 2021. 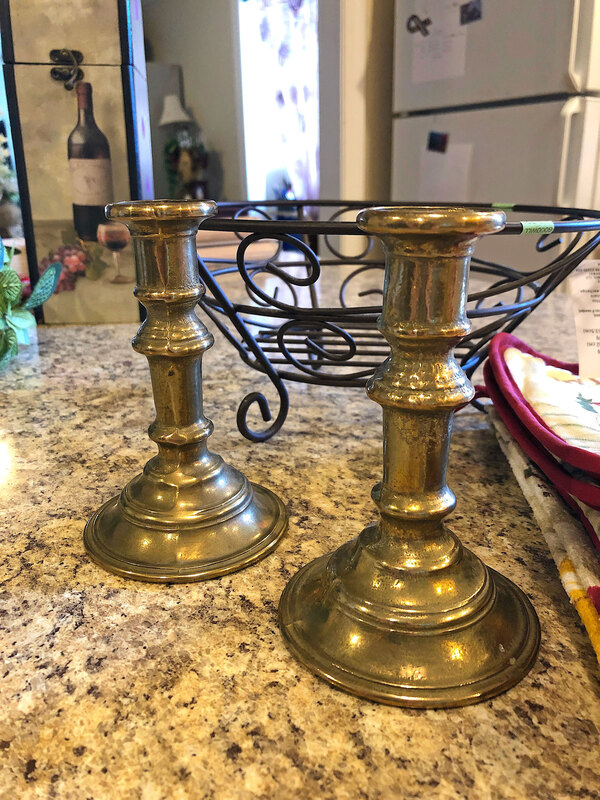 Aged gold candlesticks from a thrift shop. Photo by Diane M. Lilly, 2021.  An interesting goblet found at a thrift shop. Photo by Diane M. Lilly, 2021. If you would like to see my finished dining room, migrate on over to my blog post My Dining Room Redesigned as a Multifunctional Space (after you finish reading THIS blog that is!). Everything came together in such a beautiful way…I’m over the moon! Repurposed/upcycled items in my living room Moving on to my living room, the vase seen below adds the perfect touch for the faux floral arrangement this vignette. I think I paid $3 or $4 for it, and it just fits in so well with the rest of my decor.  Vase found at a thrift shop, shown with my handcrafted Fairy Cottage designed by Di's Studio Designs. Photo by Diane M. Lilly, 2021. And look at the table and chairs I bought from Consign & Design last year…(This was a “last year” purchase, but I snuck in a couple bonus pieces for you! A living room redesign is coming soon, so you’ll be hearing more about these pieces in that blog post.)  Side chairs and small round table found at a local consignment shop. Photo by Diane M. Lilly, 2021. Repurposed/upcycled items in my kitchen And here we are in my kitchen. My kitchen counter needed some real love (and a good clean), so I picked up several pieces from local thrift and consignment stores to help me declutter and add a bit of style to the space. On one counter I grouped a second hand decorative clock (see tutorial for changing the clock mechanism here), thrifted candleholders, and a bowl I had in my cabinet that I am using for fruit. I also repurposed an old sewing box for my hubby’s “work junk” (keys, paperwork, change) to keep my counter free from clutter. (Check out my Instagram video here to see the finished space!) 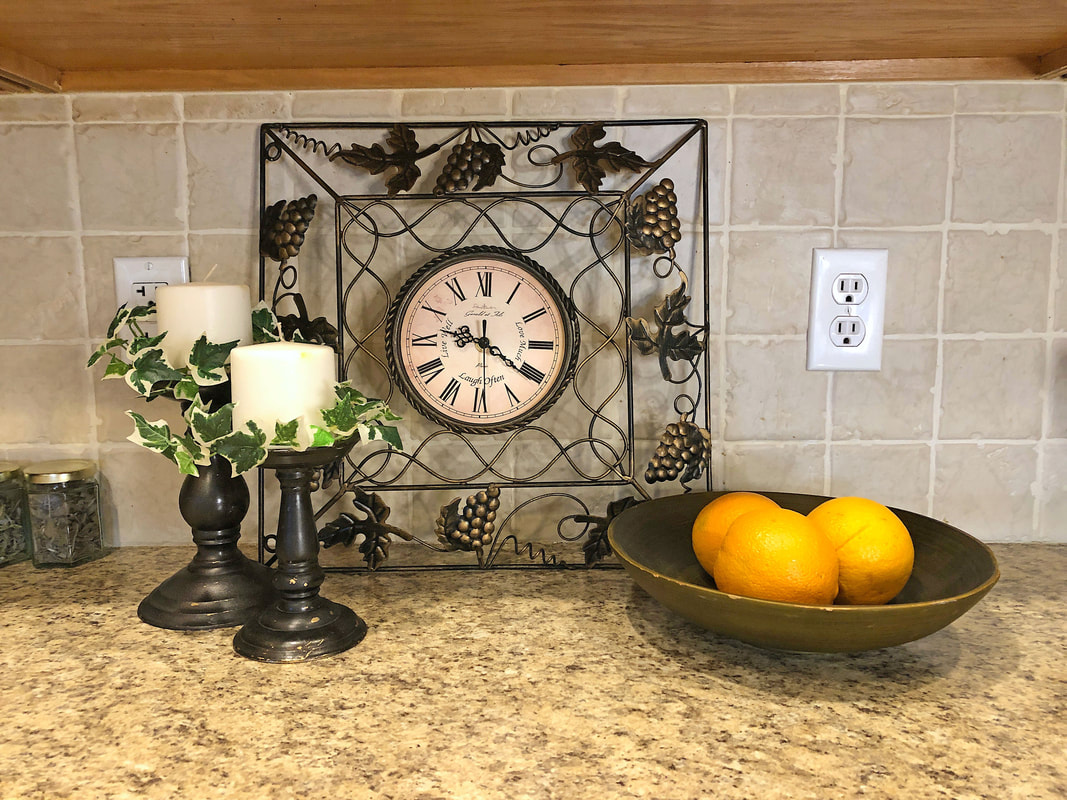 Thrift shop finds, including a clock and candlesticks, in my new countertop vignette. Photo by Diane M. Lilly, 2021. 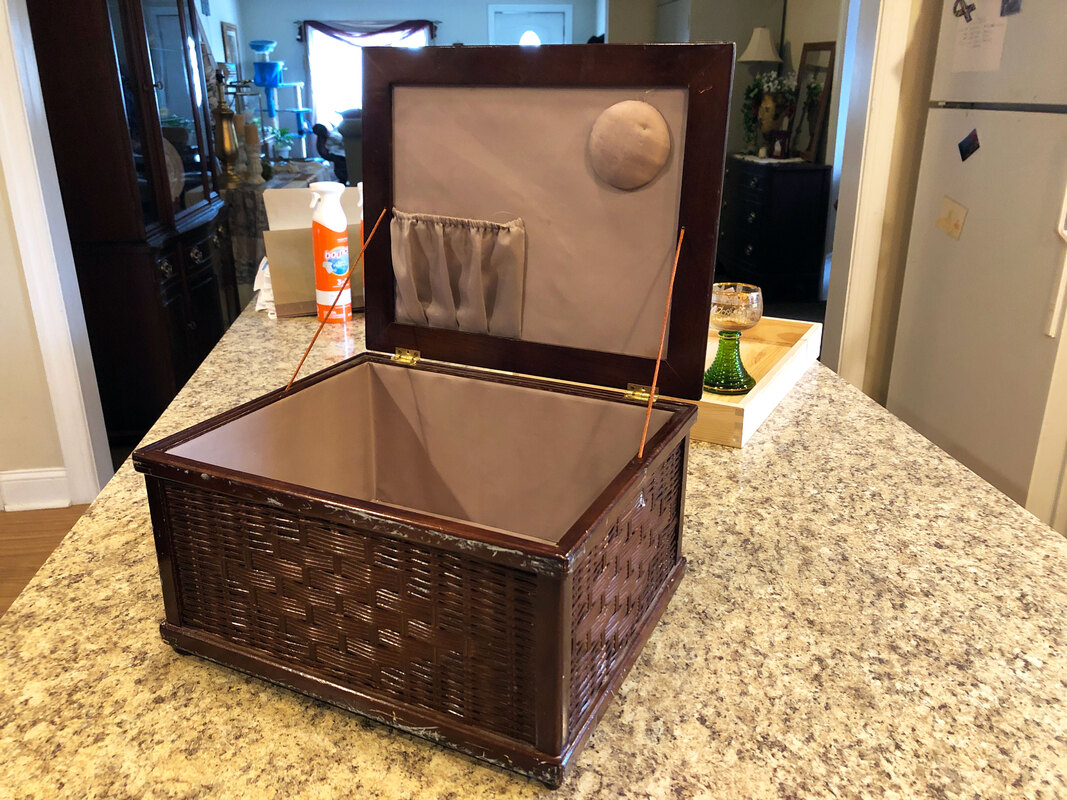 Sewing box from a thrift shop. Photo by Diane M. Lilly, 2021. On the other counter I created a coffee bar with an old jewelry tray I had gotten years back from a place I worked. In the tray I displayed the wine box with some of my wine glasses, a decorative plaque, a vase I already had filled with faux florals, a ceramic leaf from a local store, and three copper canisters I had hidden away in the basement. 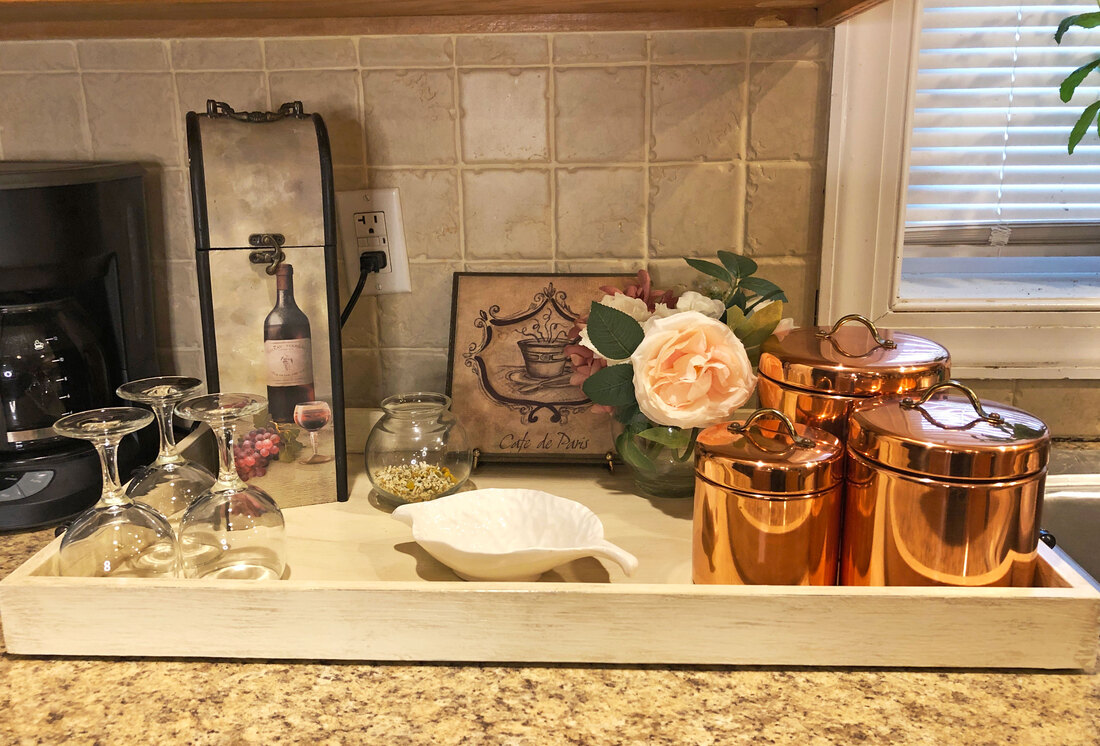 Repurposed and refinished tray with thrift shop finds and decor items shopped from my own home to make a coffee bar. Photo by Diane M. Lilly, 2021. And…finally…on my kitchen island I placed a second hand wire basket ($1.99 at Goodwill) that I filled with filler (for now) until I find something better to put inside. 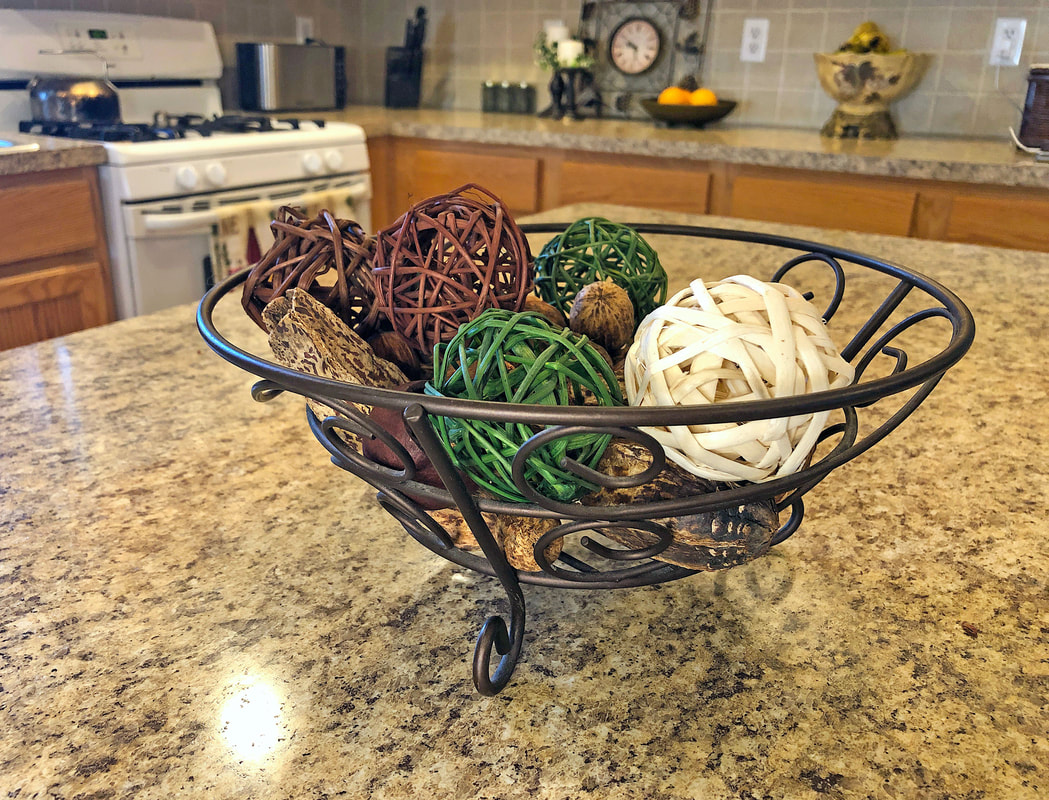 Metal basket found at a thrift store. Photo by Diane M. Lilly, 2021. I honestly can’t remember exactly how much all of the “new” second hand pieces cost me, but most of them were part of one haul from a local Goodwill where I only spent about $24! So those are my thrift and consignment store finds so far this year. I just wish there were more stores near me that sell consignment items. Or maybe it’s a good thing there aren’t…The idea is to SAVE money, right? I’ll be doing more projects as I move through my house room by room, and I’m sure I’ll write a blog post about it, so stayed tuned for more material coming soon. If you’d like to stay informed of my latest blog posts, social media events, merchandise sales, or other interesting activities I might get up to, you can sign up here for my monthly newsletters (coming soon). And please feel free to comment below if you love thrift shopping! (Just fro fun, tell us about your favorite thrift store find and how you used it in your space.) This blog post is not sponsored by any company mentioned, and I am not receiving financial compensation for the mentions. Related blog posts you may want to read: My dining room redesigned as a multi-function space How to replace a clock mechanism How to frame small canvas art How to rewire thrift buy lamps Creating a kitchen coffee bar Comparing DIY upholstery cleaning methods
0 Comments
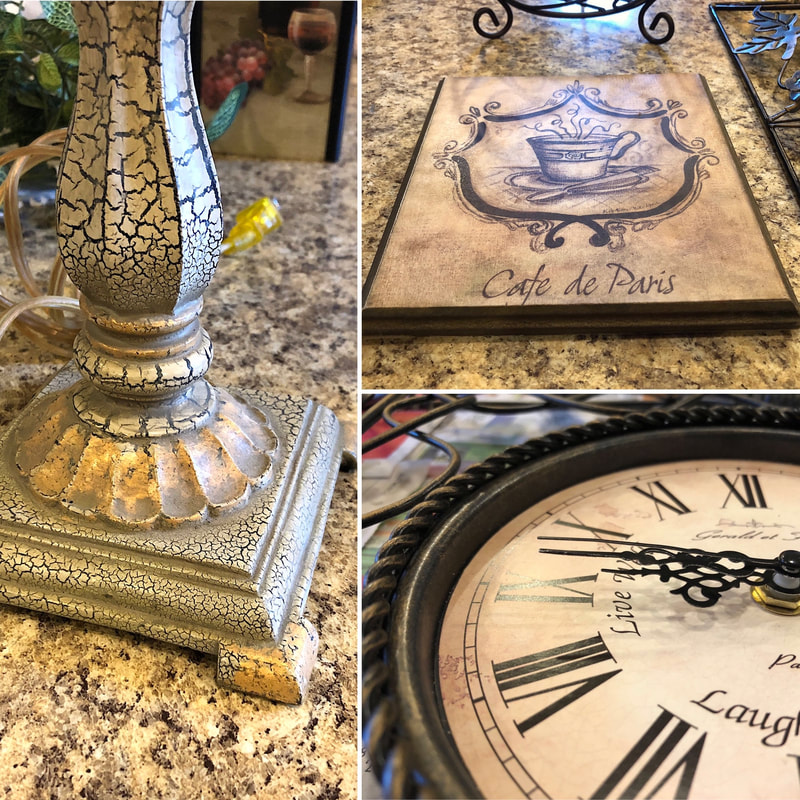
Have you ever come across a really amazing old clock that you had to take home with you, but it wasn’t exactly in working condition? I’m not talking about the ones with all the complex gears, but a simple modern battery operated clock that you can sit on your counter or hang on a wall. As it turns out, the mechanisms on these types of clocks are ridiculously easy to replace! So let’s back up a little bit and let me give you the back story on the beautiful clock (seen below) that I found at a local thrift store… 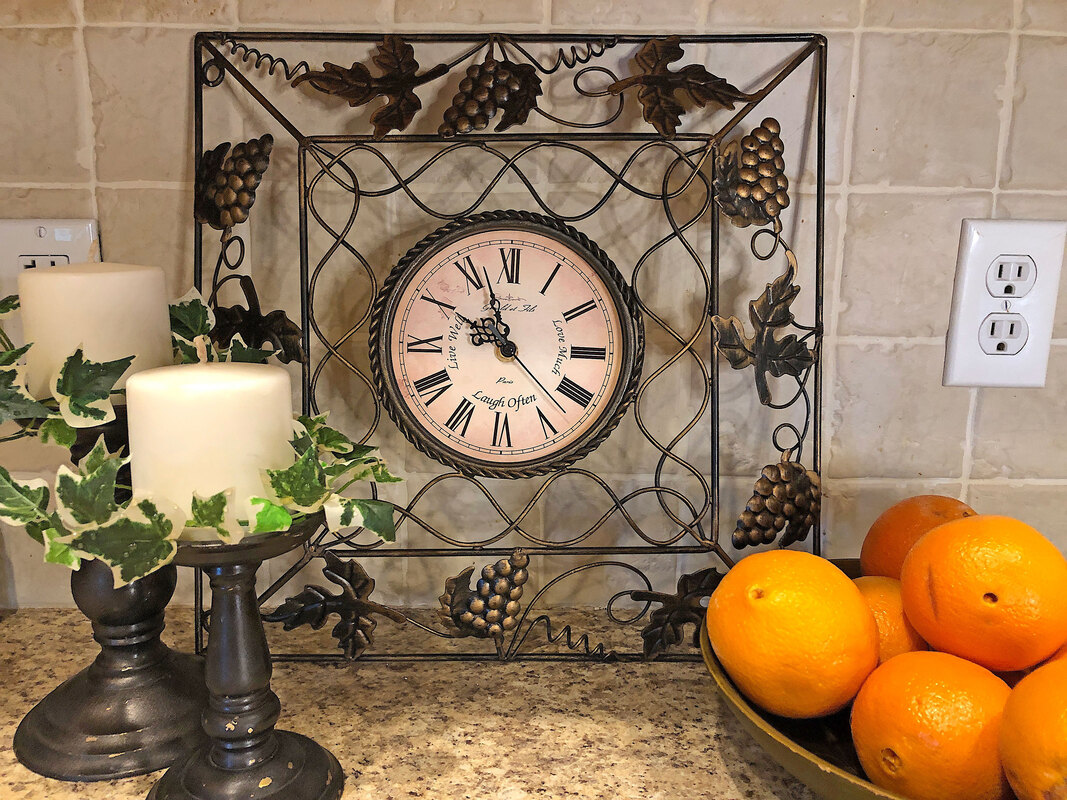 My new kitchen vignette. Photo by Diane M. Lilly, 2021. I walked into a thrift store one day—just after a doctor appointment across the street—not expecting to find much of interest. At the time I was in the process of redesigning and redecorating my dining room and kitchen and in need of some affordable decorative items to bring my look together. As I strolled to the back of the store (just out of curiosity, why are the home decor items always in the BACK of the store?) I started to feel a good vibe coming on. In a moment of what I can only define as serendipity, my eyes alighted on several beautiful items that were absolutely PERFECT for my new look, the clock being one of them. I walked out of that store a happy woman with both arms full of gorgeous decorative finds for my latest projects! Upon closer inspection at home, I realized the clock was not telling time and so put a new battery in it and it worked a charm…Until someone knocked into it before I had a chance to set it in place and broke the mechanism on the back… Which leads me to how I changed the mechanism for this clock… The first thing I did was take the hands off the front of the clock. There is a central pin that can be turned to loosen and then pulled out. 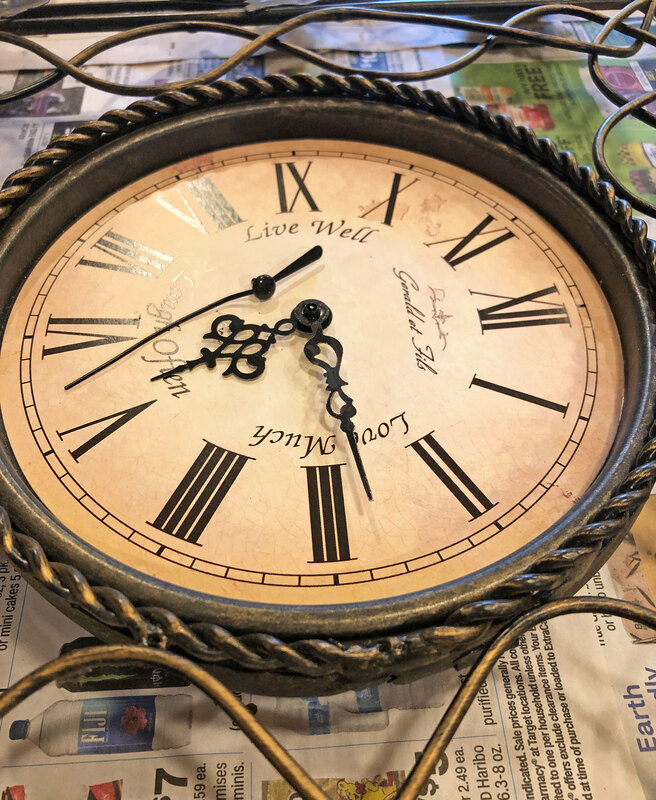 Old clock hands removed. Photo by Diane M. Lilly, 2021. With the hands removed I then flipped the clock over to inspect the mechanism attached to the back of the clock. In this case, the clock mechanism was held in place by two brackets on either side of the black box that contains the mechanics and the battery, so it was easy to just pop out. So far so good… 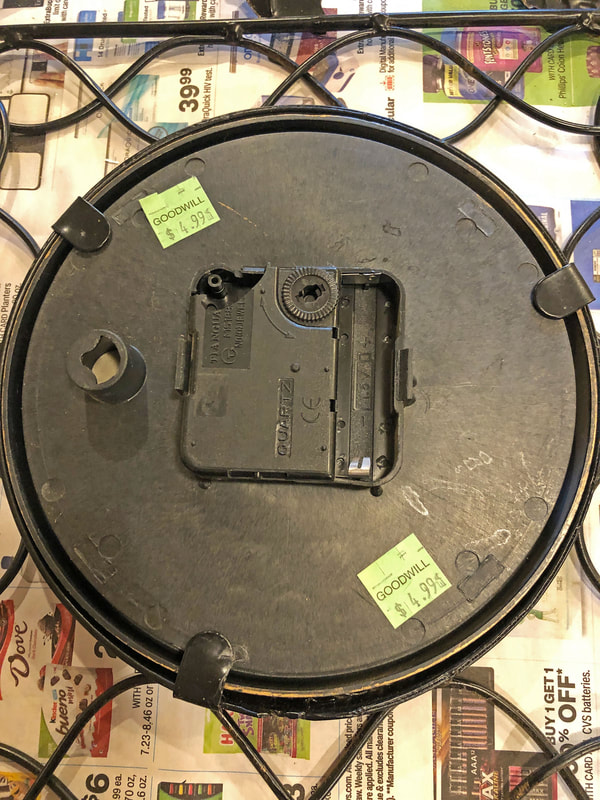 View of back with old clock mechanism. Photo by Diane M. Lilly, 2021. 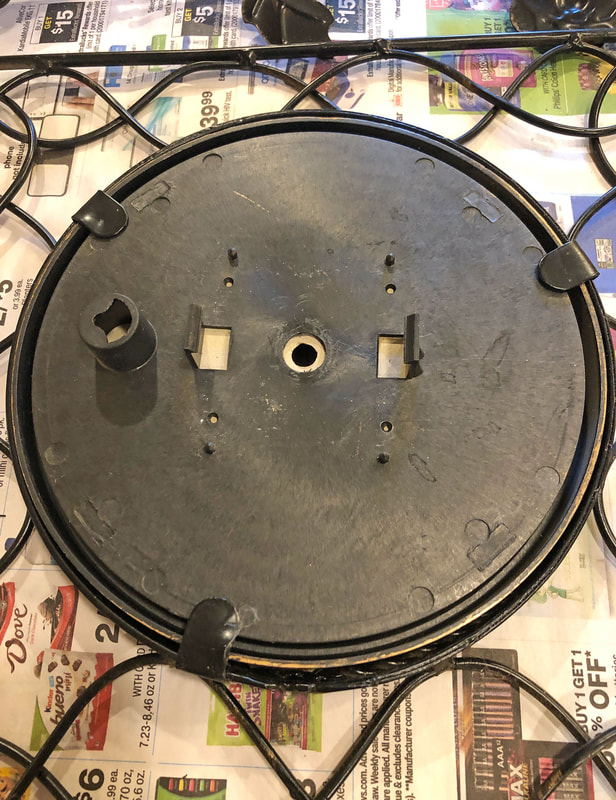 View of back with old clock mechanism removed. Photo by Diane M. Lilly, 2021. BUT…Nothing is ever easy, is it?! So I tried to put the new clock mechanism back into the slot between the two brackets, only to realize that the new one was just a smidgen too big to fit between the two brackets. After unsuccessfully trying to insert this new box, I broke one of the brackets! After some language not fit for even a mature audience, I pulled myself together and tried to brainstorm a way to fix this situation. Eventually I decided to just glue the new box and washer in place with e6000 glue and—while not ideal—it definitely solved the problem. With a sigh of relief I then moved on to the next phase of this process… 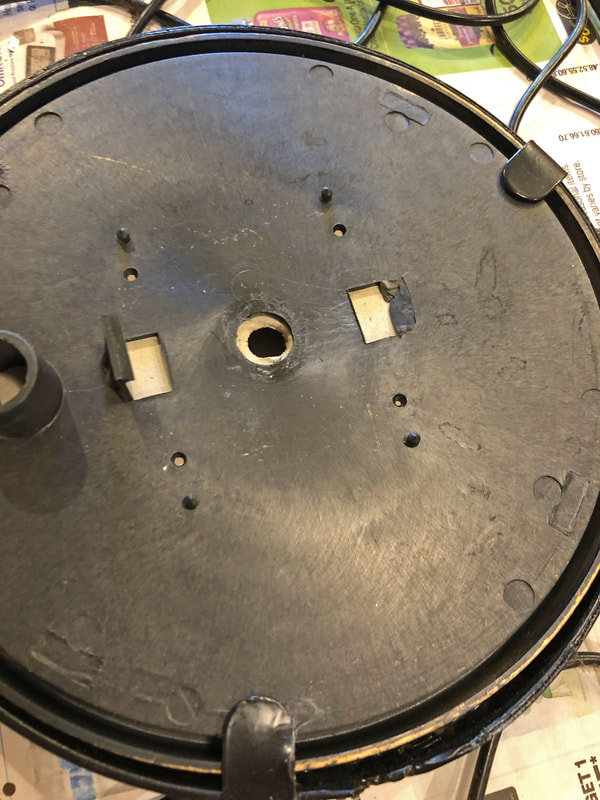 View of back of clock with bracket broken. Photo by Diane M. Lilly, 2021. 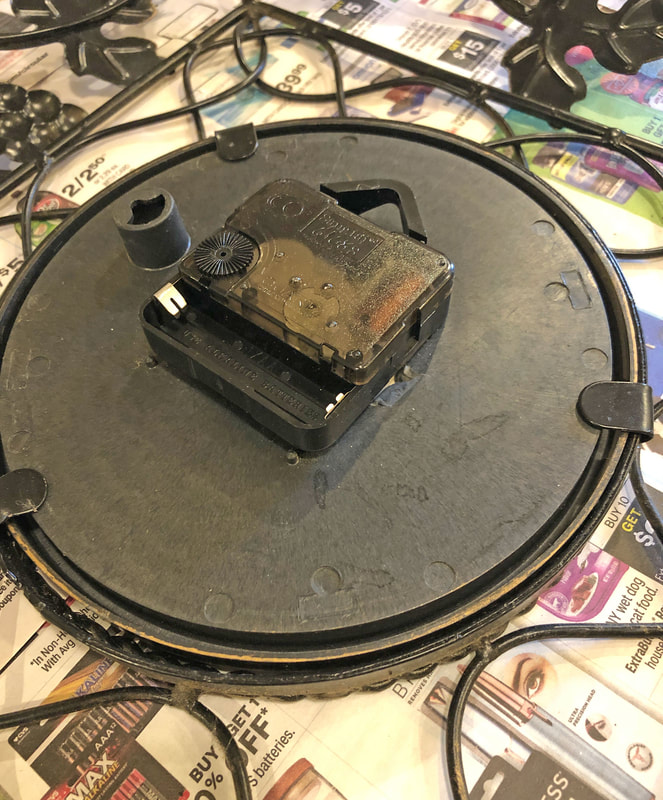 View of back of clock with new clock mechanism in place. Photo by Diane M. Lilly, 2021. The process of changing out the mechanisms created yet another issue—the cardboard face for the clock shifted by about a sixteenth of an inch to one side, creating a trouble point where the gears would get stuck as they moved, so I had to use a sharp blade to clear the cardboard away from the central shaft (without destroying the decorative clock face!) so that the clock hands could rotate unimpeded. Now I was ready to replace the washers, nuts, and hands on the clock face… 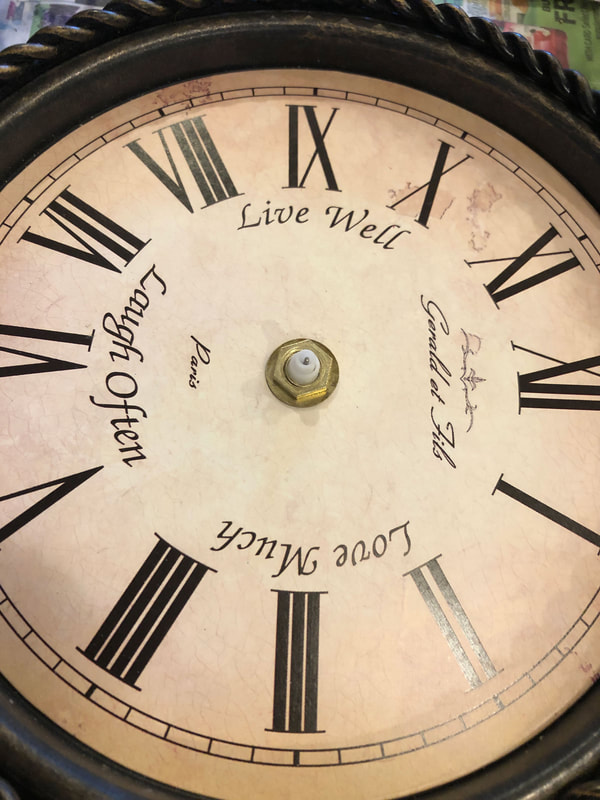 View of clock front with no hands. Photo by Diane M. Lilly, 2021. BUT…Like everything else with this project, nothing was simple! I was excited when I got to this point because the hard part was over—I could finally put the decorative touches on this beautiful clock and watch it work its magic. And then, as I started putting on the new hands I realized they were too big for the clock face! Taking another look at the old hands, my assessment was that if I could get some of the subtle bends out of the clock hands they could still be used, and so I put the old hands back on and everything seemed in good condition. 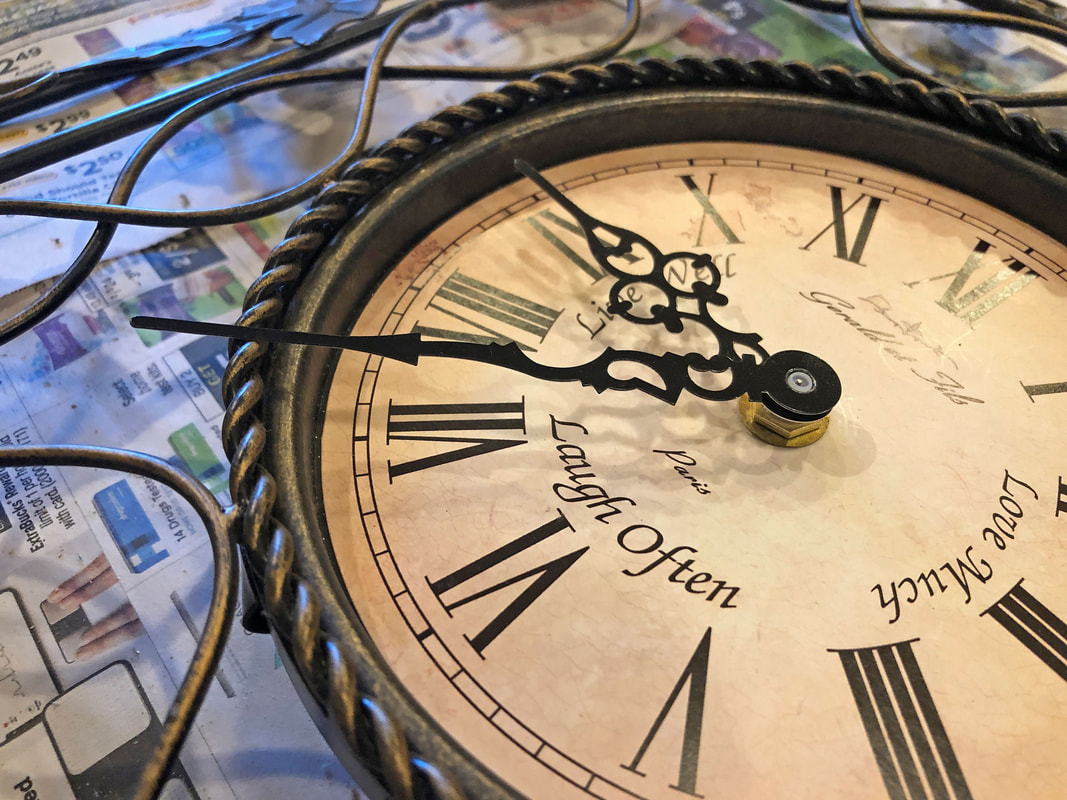 View of clock front--new hands don't fit! Photo by Diane M. Lilly, 2021. 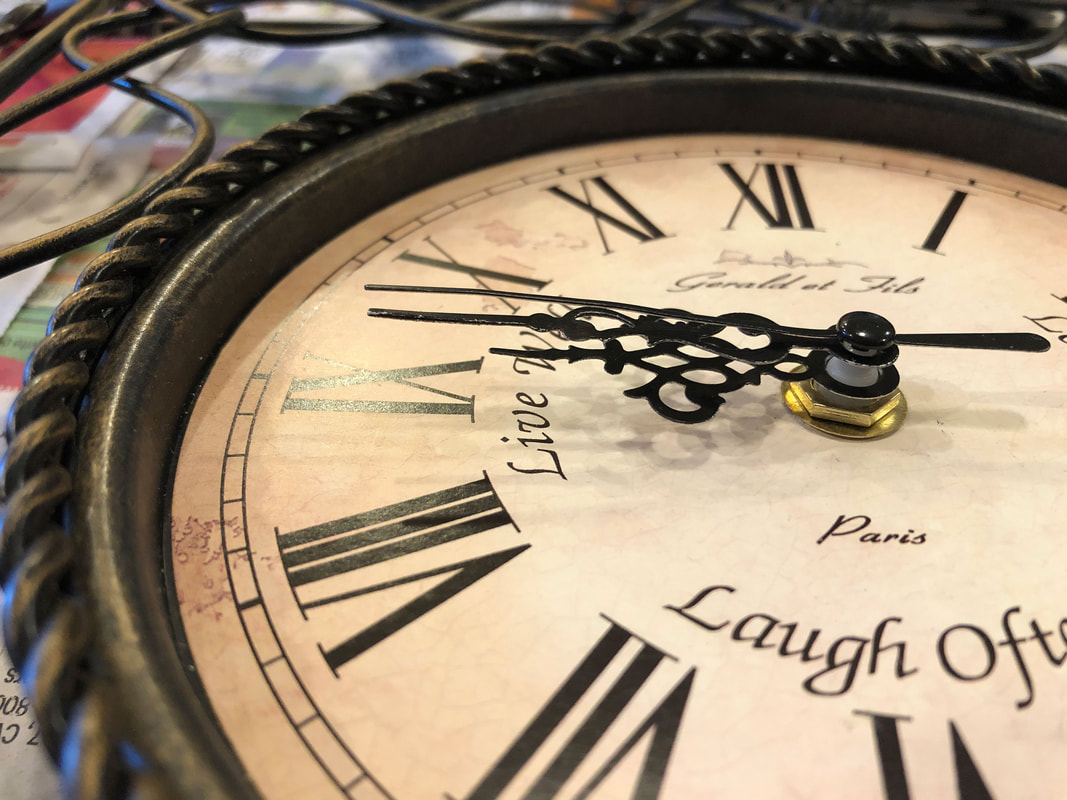 View of clock front with old hands installed. Photo by Diane M. Lilly, 2021. 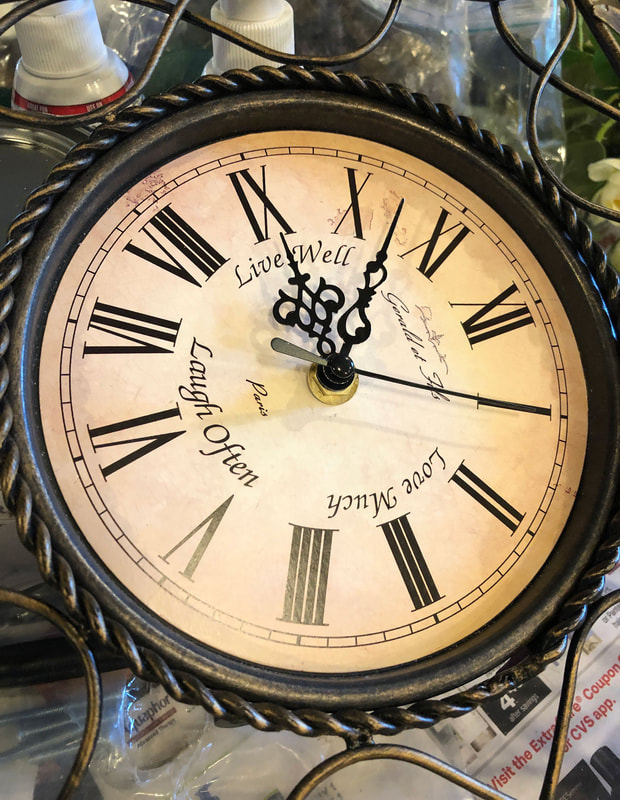 Clock face with hands finally working. Photo by Diane M. Lilly, 2021. I popped a battery into the back and the clock started working! It kept time for a while but then stopped…I mean, really?! What the heck with this clock already! But I noticed that the second hand was still bent in a way that caused it to get caught on something as it rotated, and once that issue was fixed the clock started working again…And several weeks later, it’s STILL working!!!! 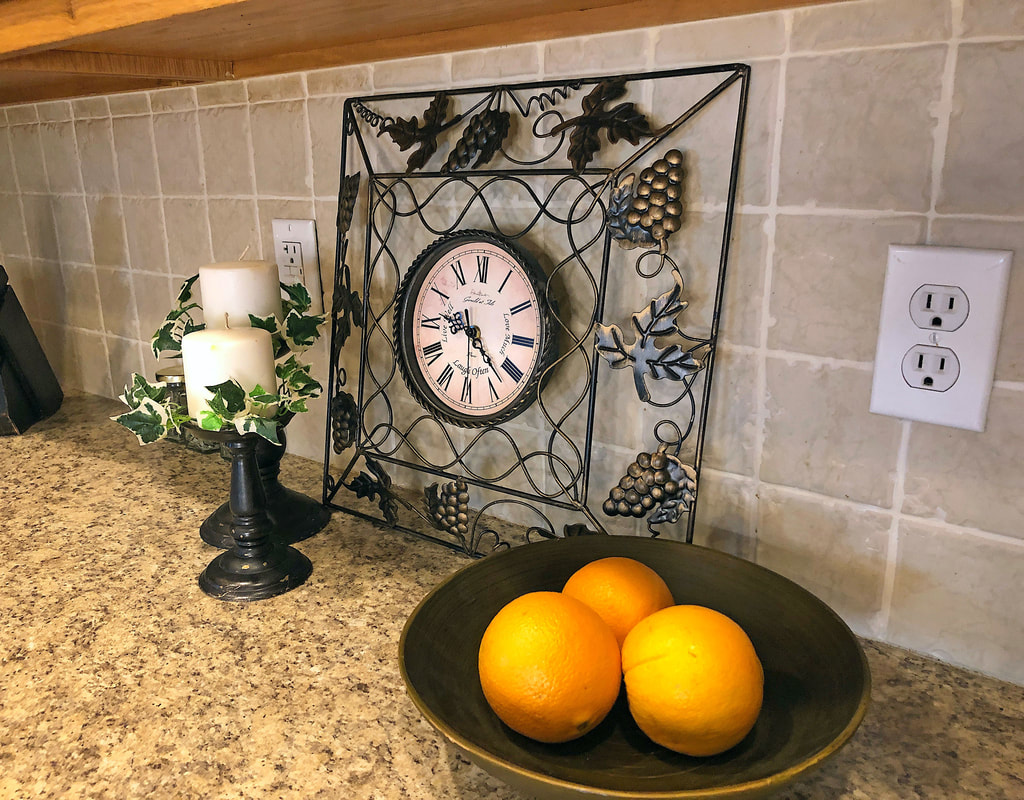 Another view of my new kitchen vignette with clock. Photo by Diane M. Lilly, 2021. So it is very easy to change out these simple cock mechanisms, but—as with any project (unless it’s just me)—there will always be unexpected challenges along the way. The key is to problem solve and make it happen! I now have a clock for my kitchen counter that somehow seamlessly blends in with the decor in the rest of my home and adds a bit of style to what had previously been a pretty sad area. So what do you think? If you’d like to share your own experiences or have any questions for me, drop a comment below. If you’d like to subscribe to my monthly newsletter (coming soon) so you can be notified of new blog postings, special sales, social media events, or other happenings for Di’s Studio Designs, you can click here and fill out your info on my contact page. You can also follow me on the social media links below! Related blog posts you may want to read: How to frame small canvas art How to rewire thrift buy lamps Creating a kitchen coffee bar DIY refurbishment of a dining room cabinet |
Author
Some of the posts on this site contain affiliate links. This means if you click on the link and purchase the item, I will receive an affiliate commission. 
Categories
All
Archives
April 2024
|